Setup Console Account
A walkthrough about how to manage your account
Once you've registered your Console account, the first thing to do is set up your App and account details.
Configure Console account
Manage your account with the dropdown options available in Account (available at the top right corner)
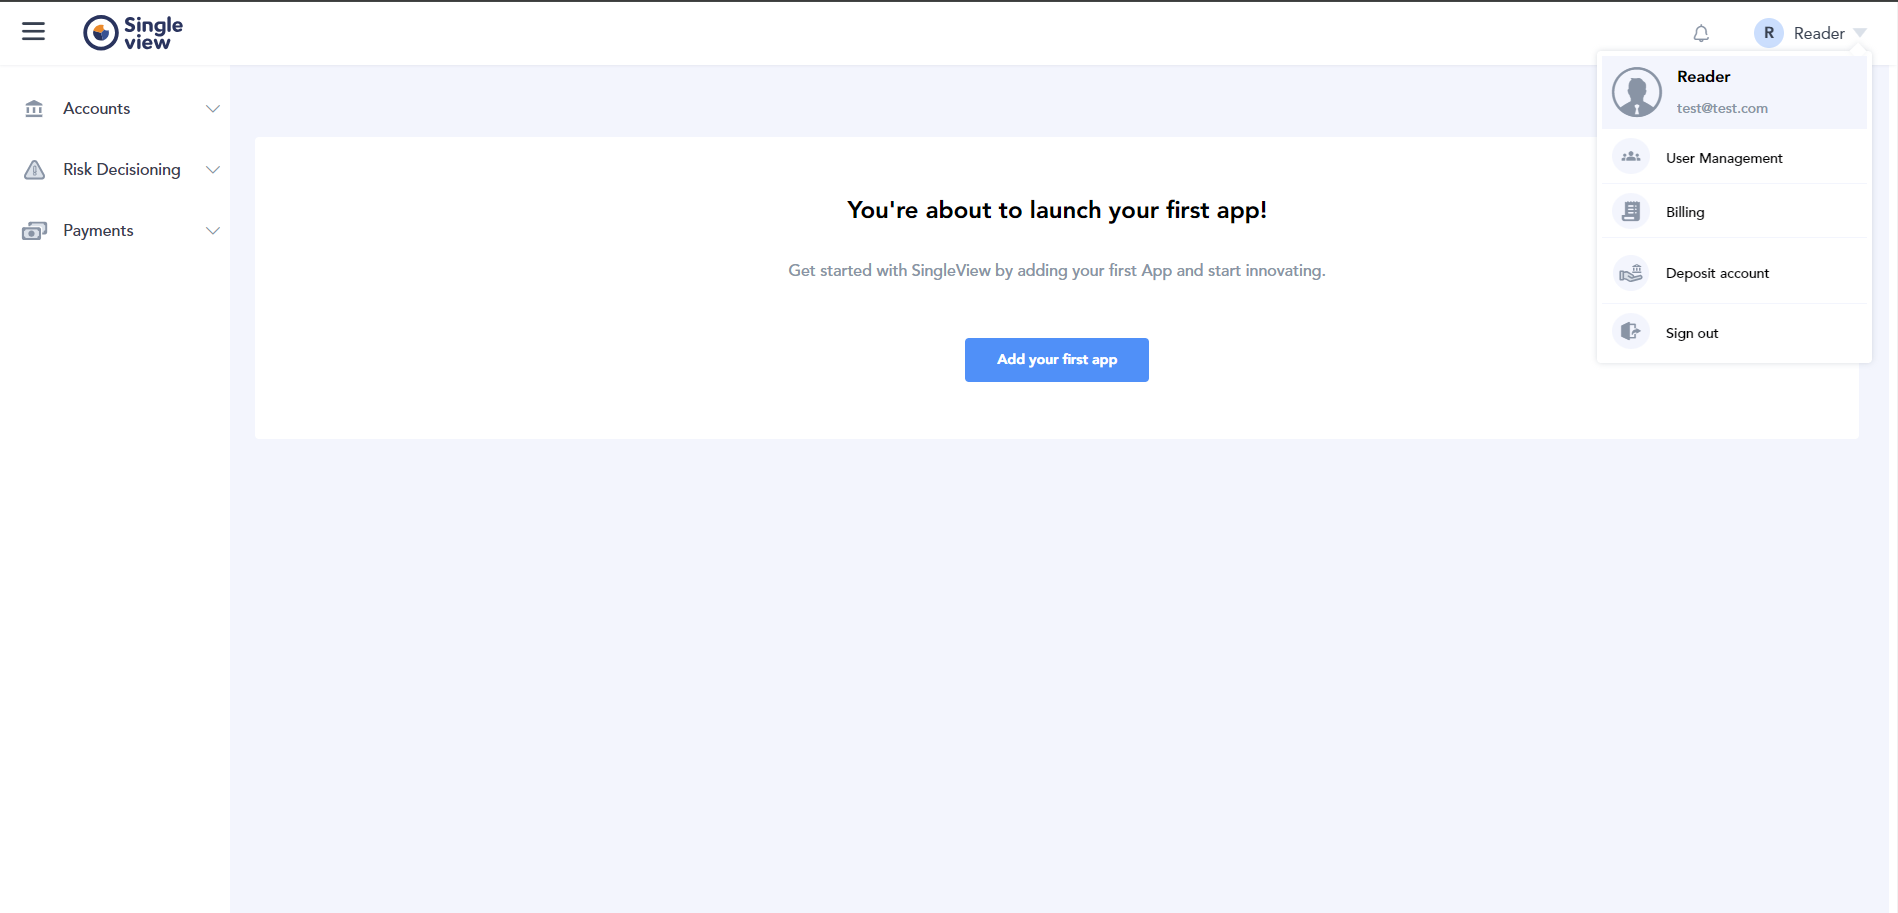
Screen showing account management options
| Profile | Manage your information to log in and communication and your company information - Update company information, company logo (recommended size 250 X 250 px in JPG, JPEG, PNG formats) and choice of currency |
| User Management | Invite new users to collaborate on SingleView platform - Manage existing team members |
| Billing | Manage account subscriptions, billing, invoices and payments. Billing cycle will be activate once you have your App in Production environment |
| Deposit account | Setup and manage bank accounts to collect and facilitate your payments |
Add an App
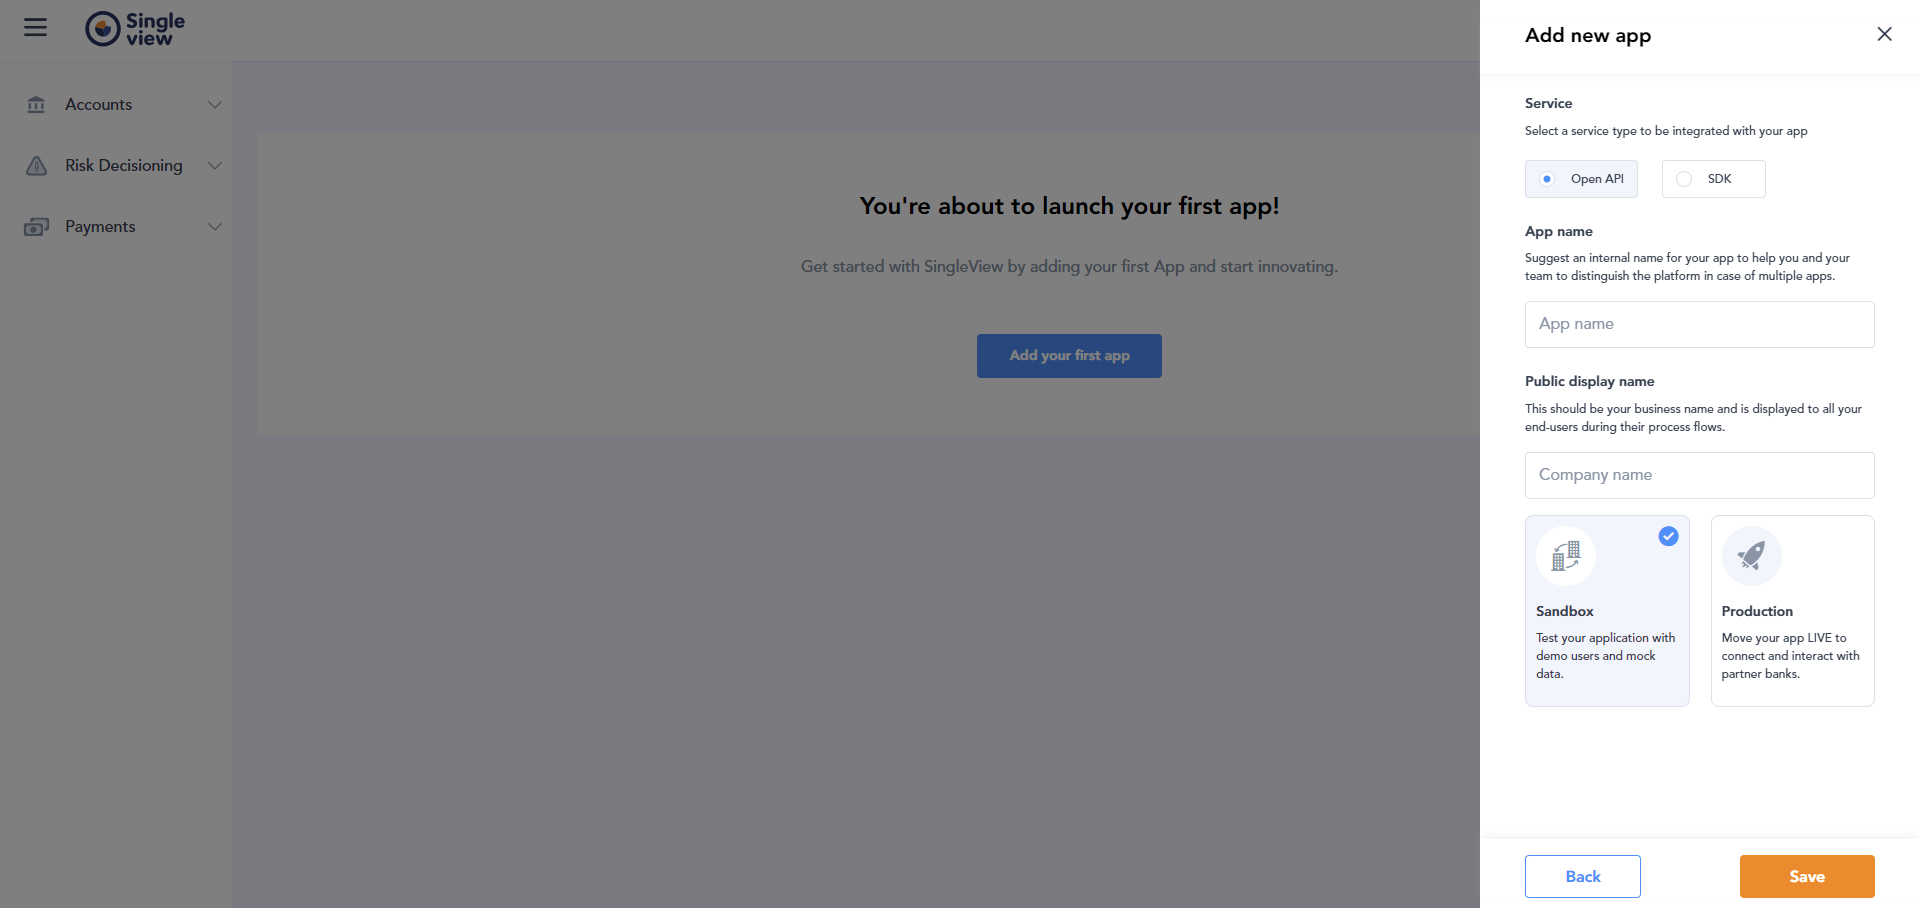
- Click on the Add your first app
- Choose the type of service among Open API or SDK
- Fill in the details appearing on the side-screen
- Choose the environment
RecommendationsIt is recommended to observe the behavior of your App in the Sandbox environment and then move to the Production environment
Make App to LIVE
To make your App LIVE, you need to move it to the Production environment. Once you have tested your App in Sandbox, you can request access to the' Production' environment via email to [email protected]. Our Team will contact you soon to review and assist you in making your App LIVE.
Console App Menu
After adding your App to the Console, you can find the following options available for access on the menu:
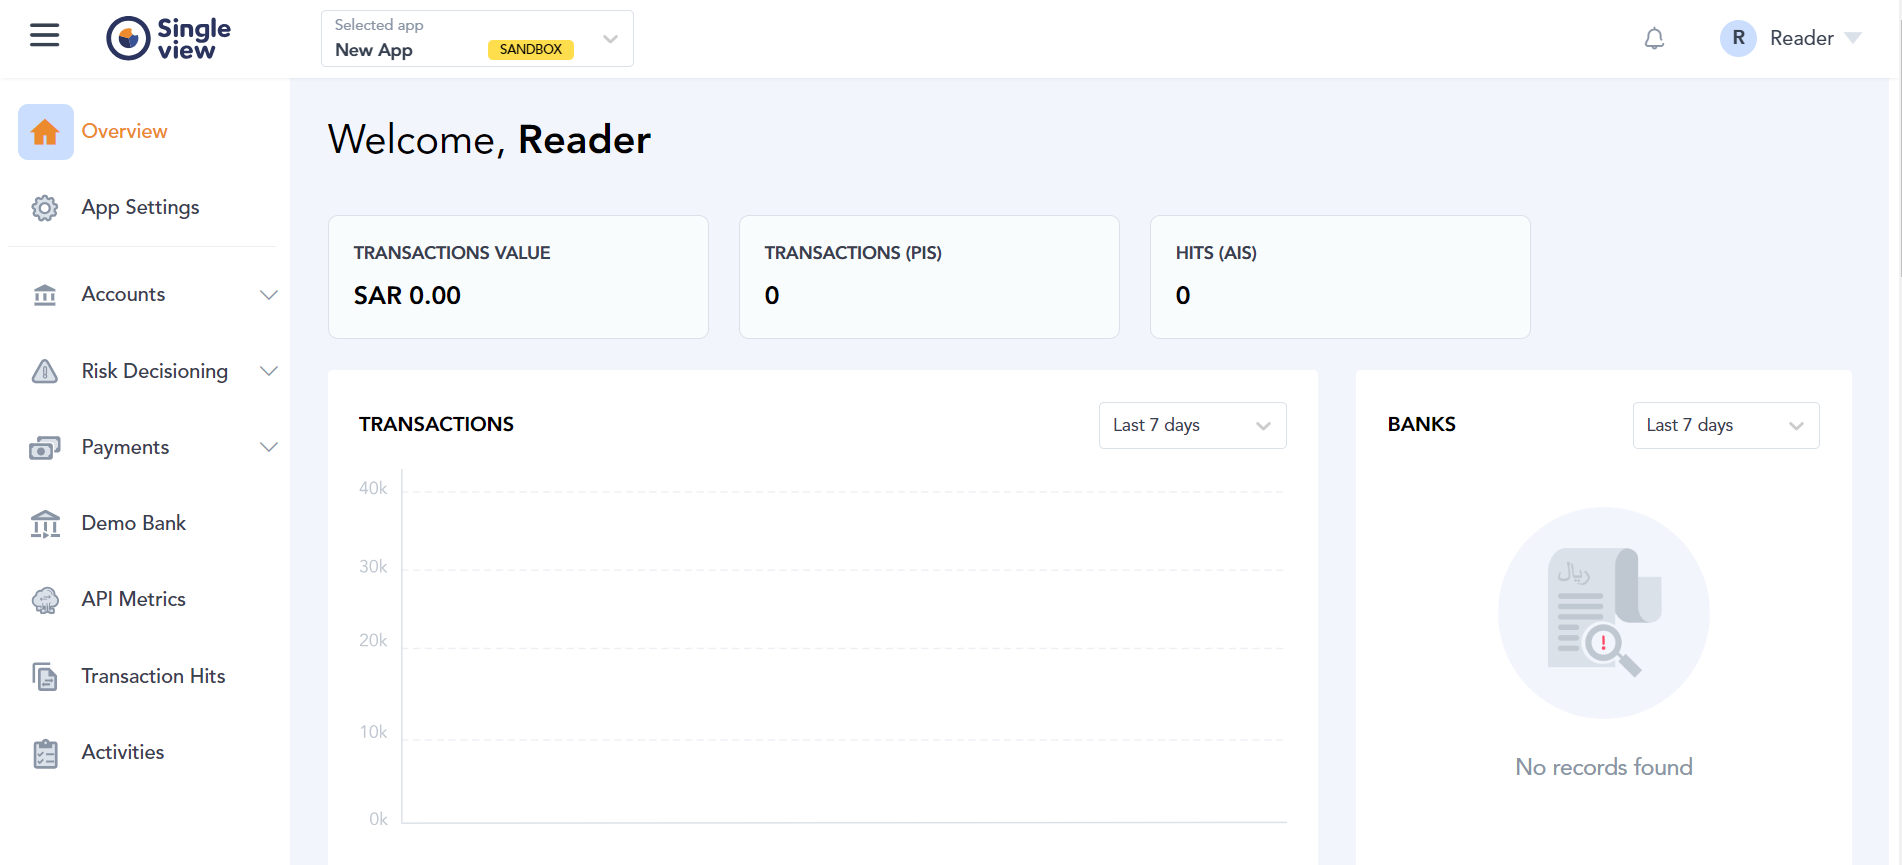
SingleView Console Dashboard
Overview |
An intuitive dashboard delivering the summarized information on the performance and usage of API/SDK services |
App Settings |
Add and manage integration of your Apps with SingleView Open Banking |
Accounts |
Open Banking
|
Risk Decisioning |
Open Banking API services fetching data for use cases: |
Payments |
Access to payments option via |
Demo Bank |
Information and credentials for demo bank users valid under |
API Metrics |
Access records and information on API usage for Account Information Services (AIS) |
Transaction Hits |
Access records and information on API usage for Payment Services (Payly) |
Activities |
Track and access information about account activities |
App Settings
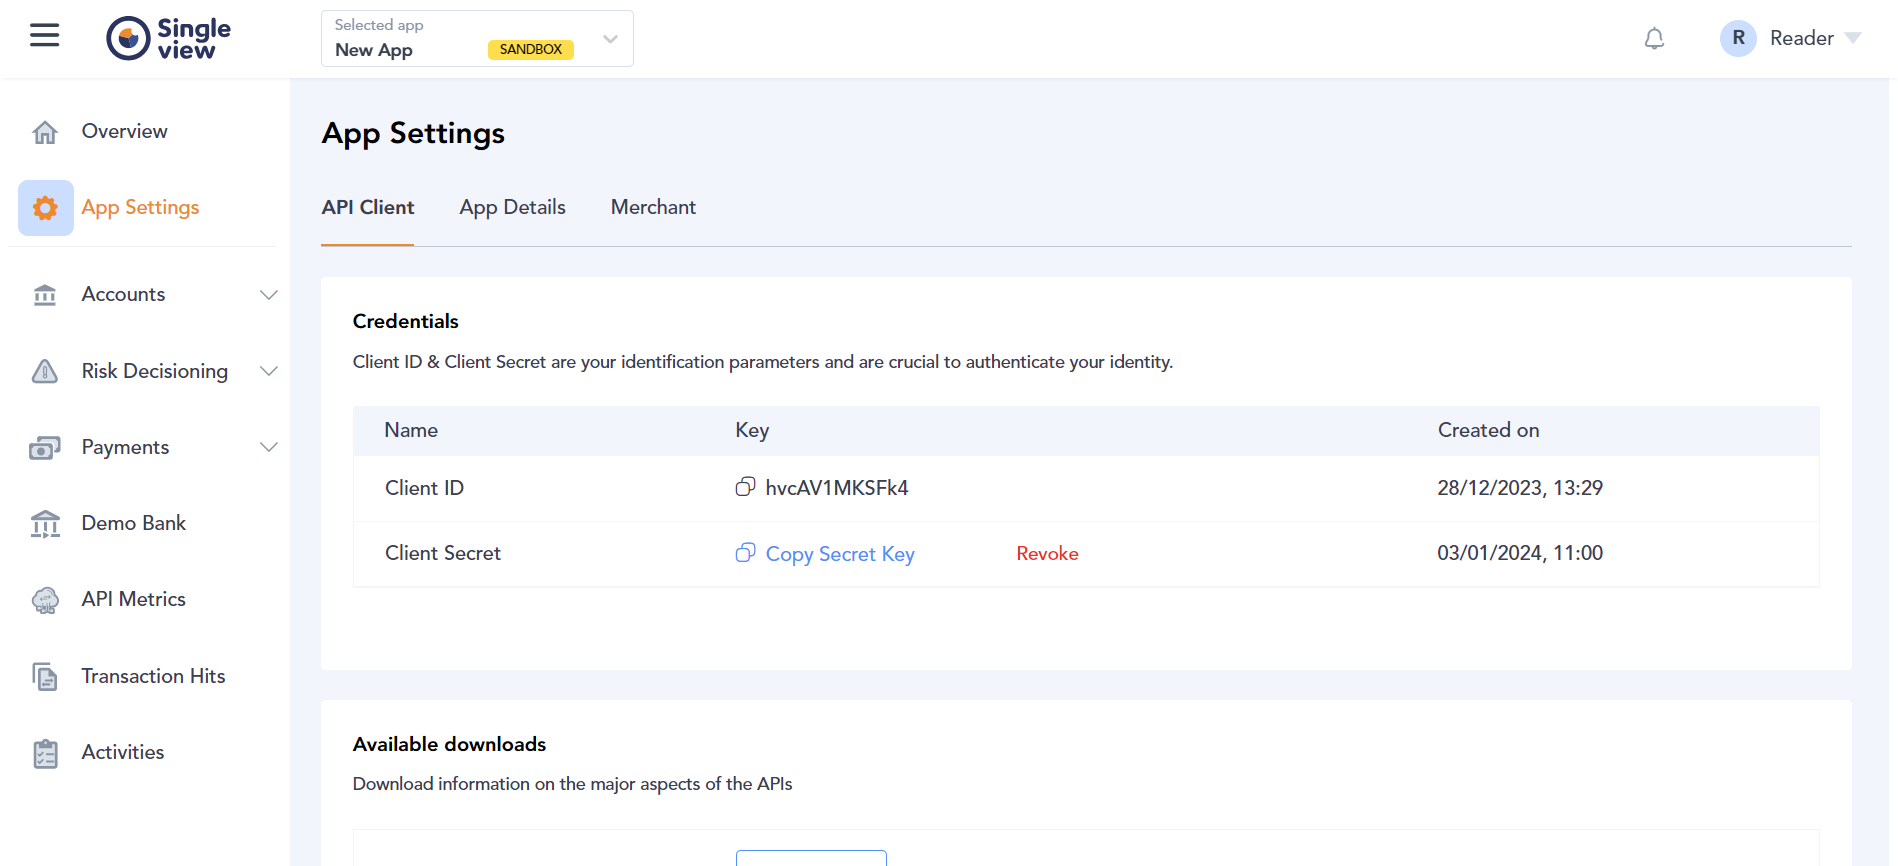
Console - App settings page
API Client
This section allows you to manage the client identification and authentication parameters by providing access to the following options:
Credentials |
Manage |
Available downloads/SDK Bundles |
For API: Option to download files related to Postman Collection, Postman Environment and mTLS Authentication |
Available scopes |
This section displays the API services available for access for the specific Console account |
Redirect URLs |
Manage redirect URLs for data authentication and payment authorization |
App Details
This section allows you to manage the basic App details by providing the following options:
- App name - Edit and manage your App name
- Public display name - Allows you to view the business name displayed to all your end-users during their process flows. To edit this, you need to change your company name in Profile > Company Info
- Delete App - If you want to delete an existing App, click on this button and verify your action by validating with an OTP sent to the registered mobile phone number
Merchant
Merchant accounts in the Sandbox environment are the accounts that SingleView manages on your behalf. Note that there is no actual data or amount transfer in Sandbox. The sole aim of setting up merchants in Sandbox is for testing purposes.
Merchant accounts in the Production environment allow you to manage payments via SingleView. To use merchant accounts in your live, your App needs to be in the Production environment.
Add Merchant
To add a new merchant:
- Click on "+ Add Merchant" button on Merchant page
- Enter the merchant name, mobile number, and email address and submit the details by clicking on the "Add" button
A new merchant will be created with a unique merchant identification specific to the App.
Edit or Delete Merchant
If you ever need to make changes to or delete an existing Merchant, it's a simple process:
- To edit a URI, click the pencil icon and make the necessary adjustments
- To delete a URI, click the bin icon next to it